8. Virtual Desktop in ARE#
Overview
Tutorial: 10 min
- Objectives:
Learn how to use Virtual Desktop in ARE.
First, click on the Virtual Desktop tab in ARE.
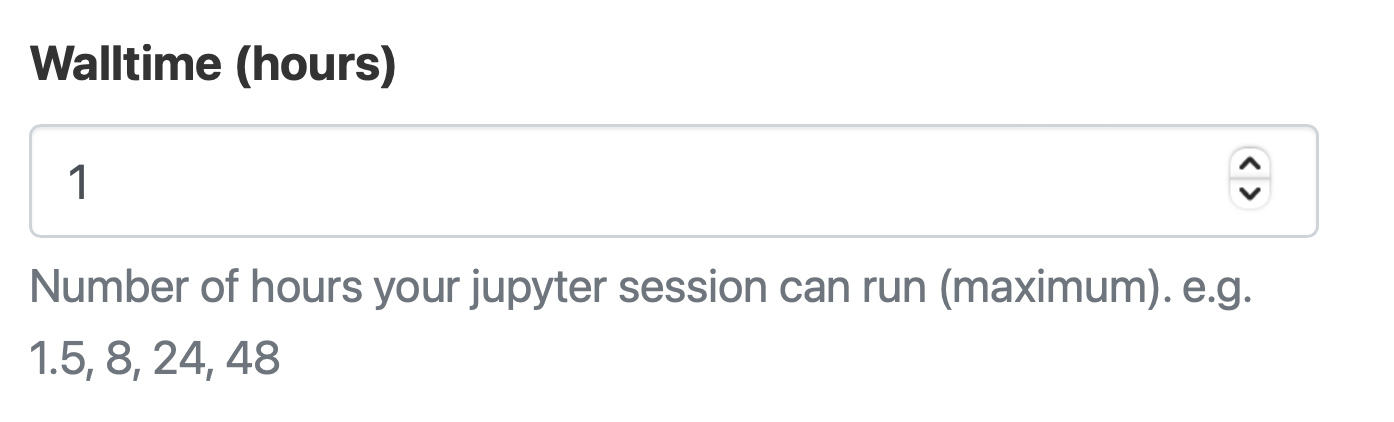
Specify how many hours you need the Virtual Desktop for.
Specify the queue you need.
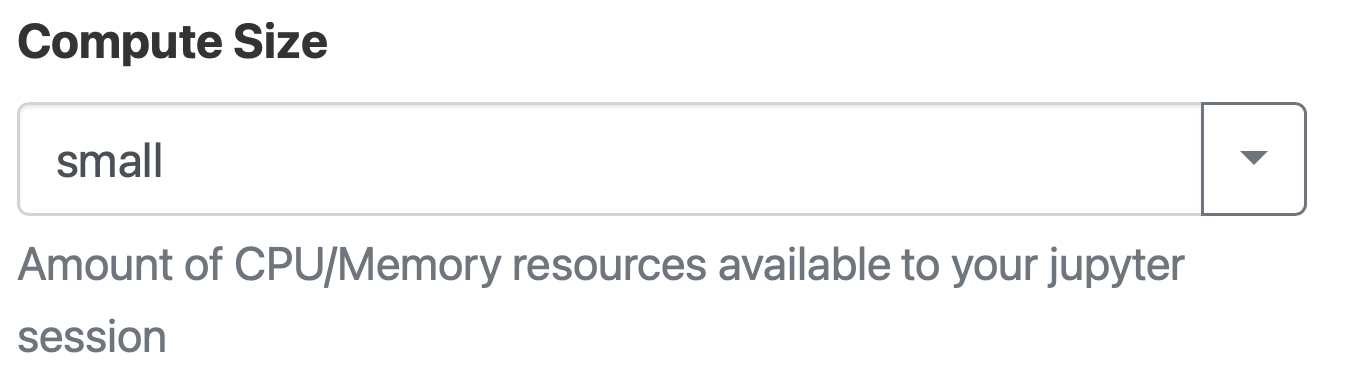
Specify the size of the compute (cores and memory).
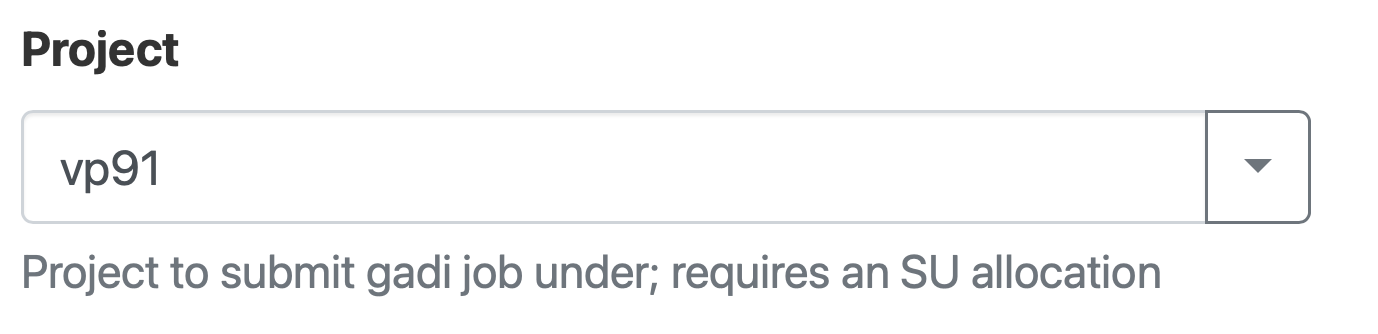
Specify the project you are going to use.
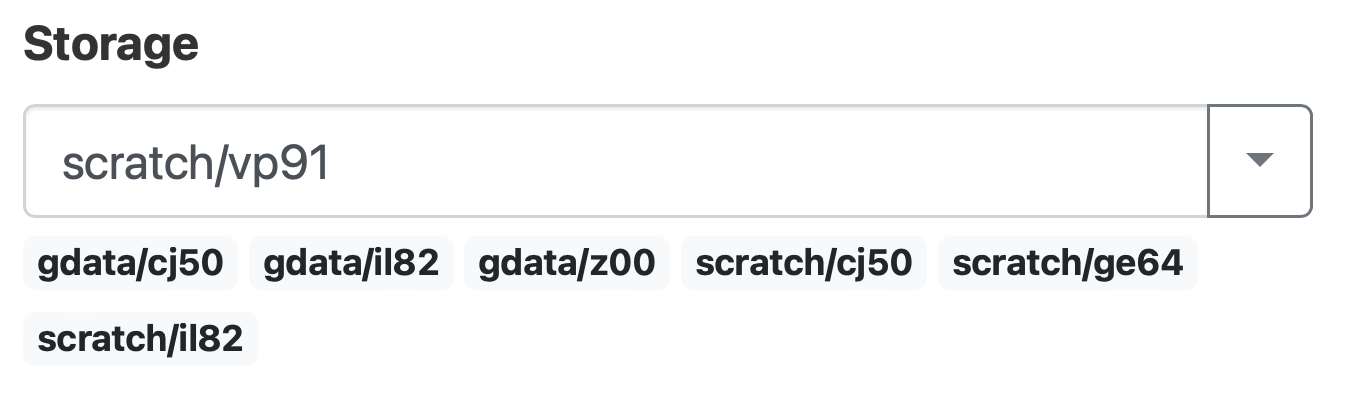
Specify the storage folder (not a necessary field).
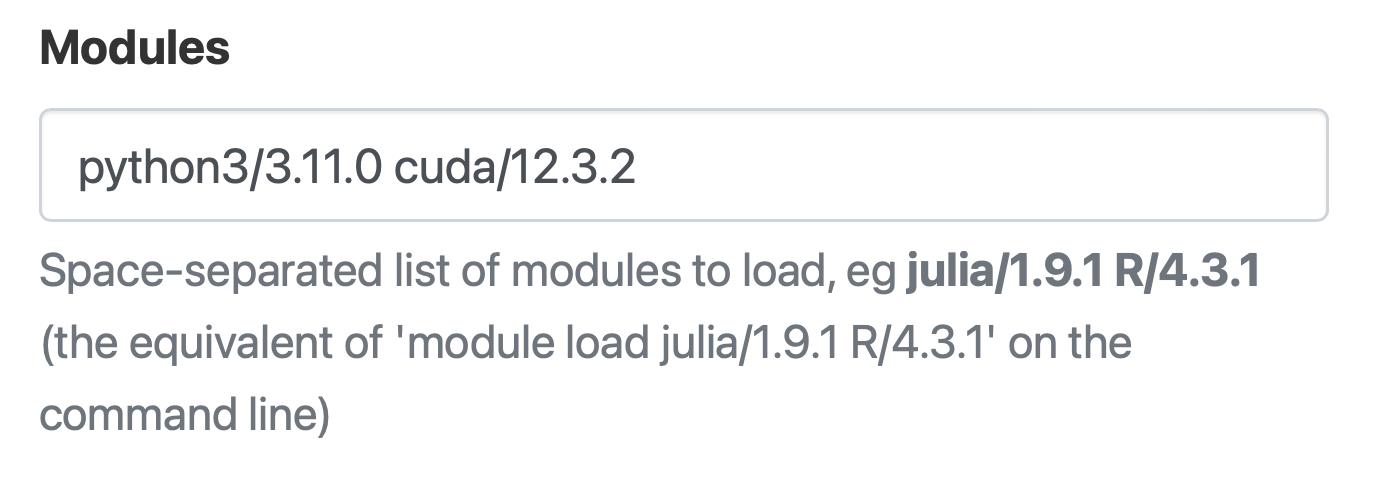
Specify all the modules you need (for your virtual environment).
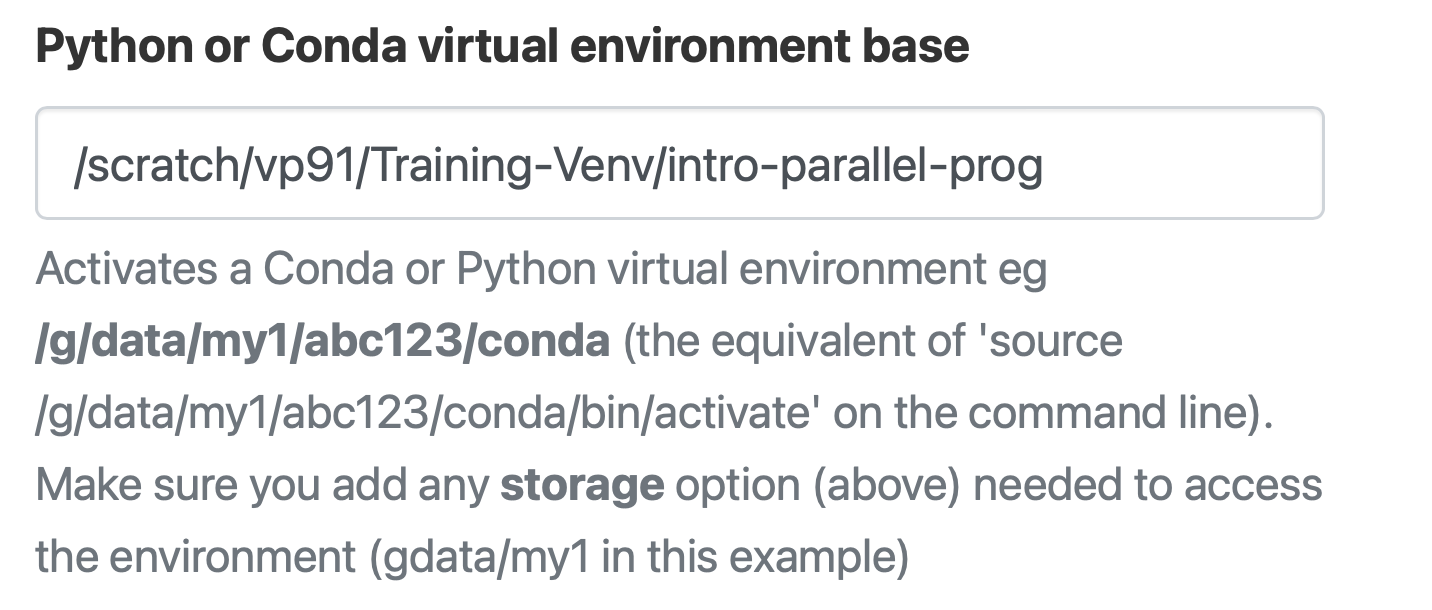
Specify the virtual environment you need.
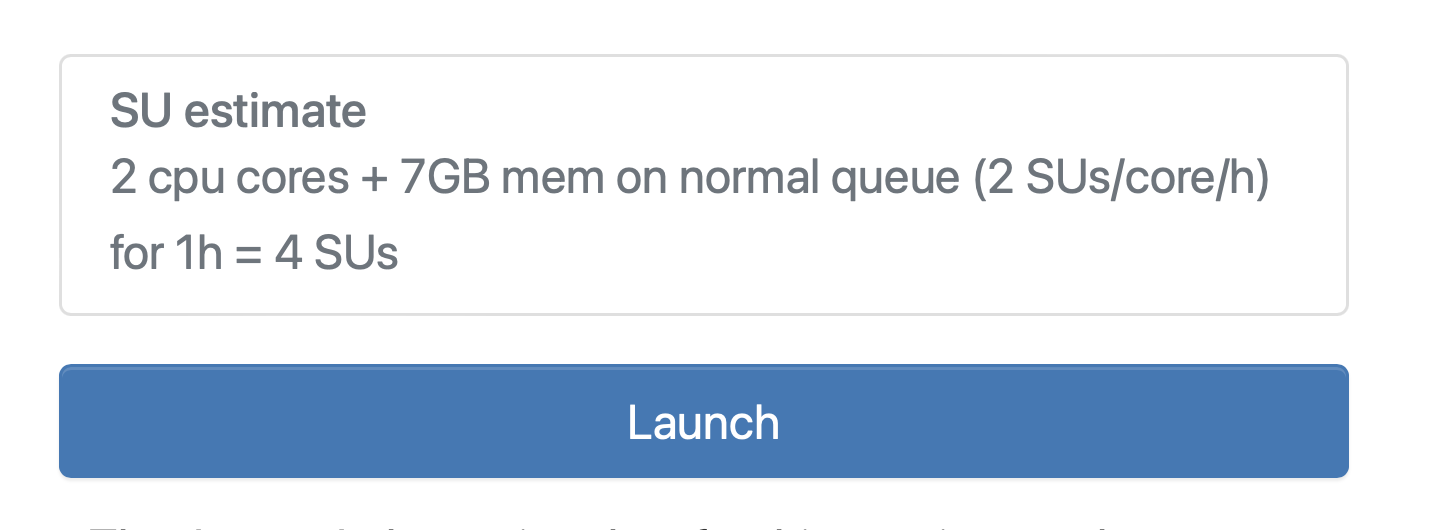
Launch the Virtual Desktop .
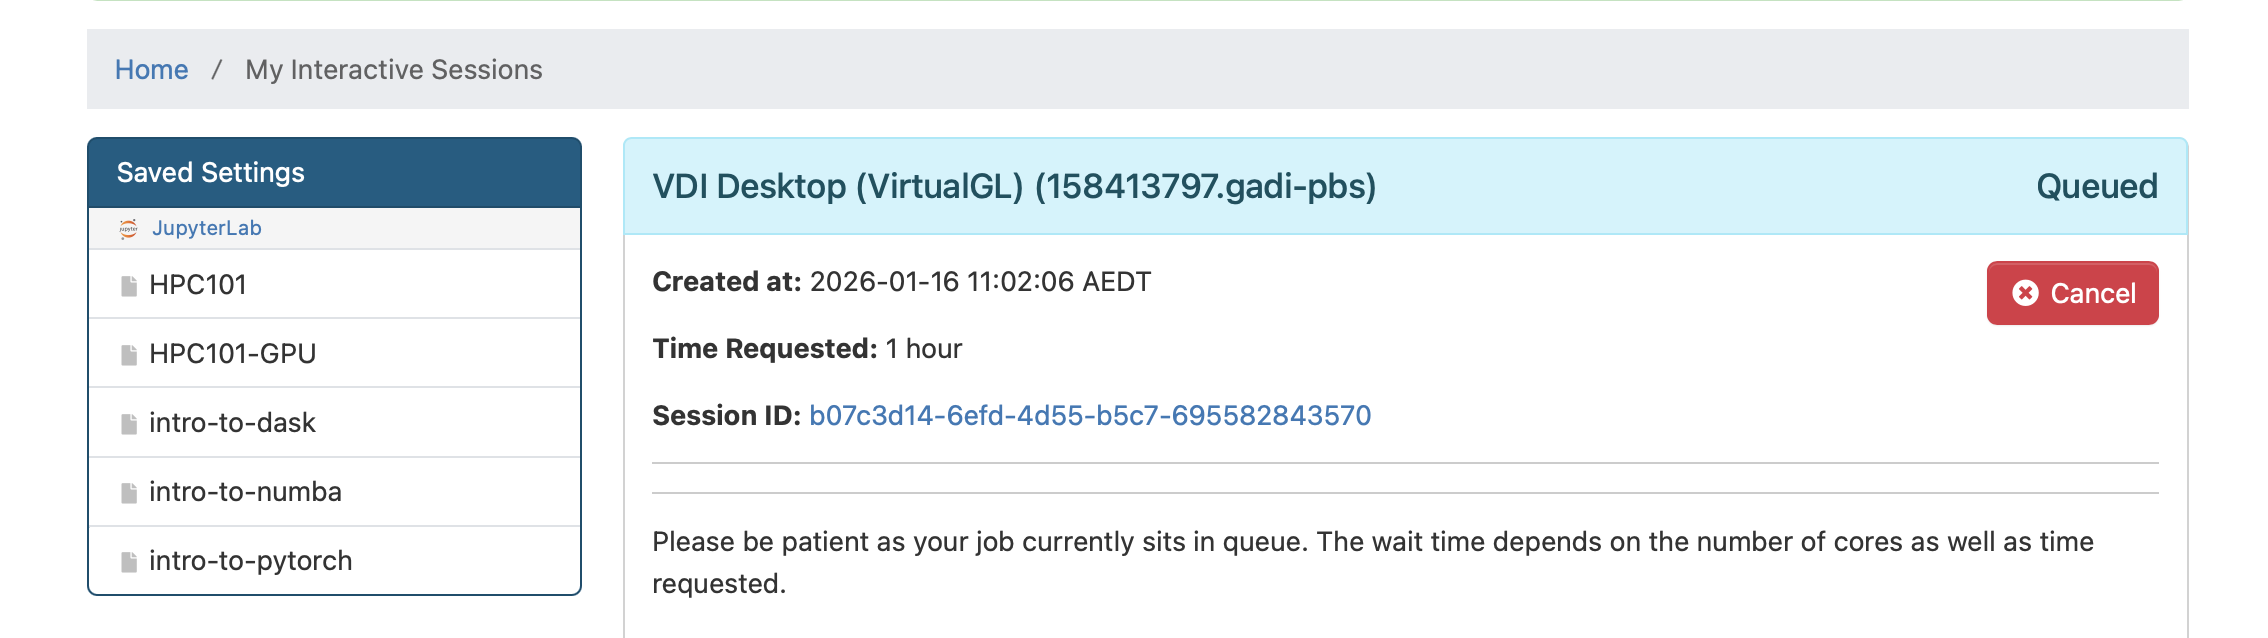
Wait for the job to start.
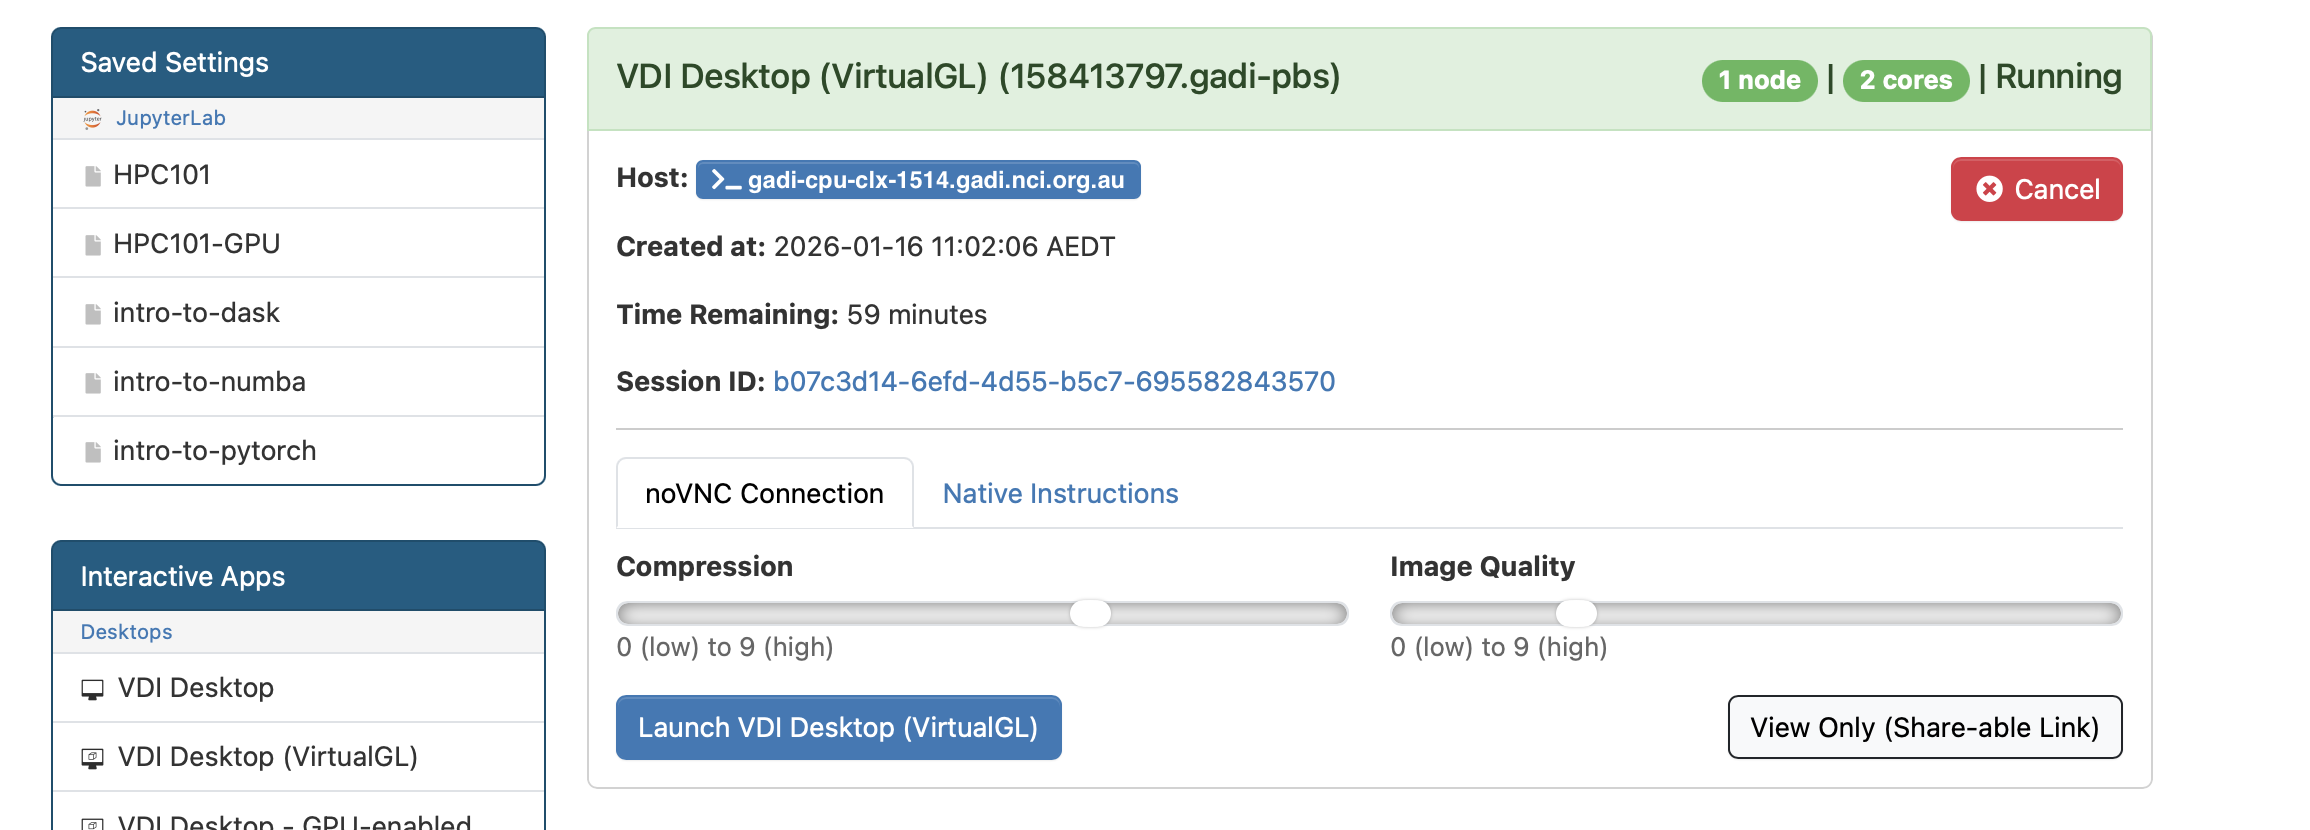
Once the job is granted you can access the Jupyter note by clicking on Launch VDI Desktop.
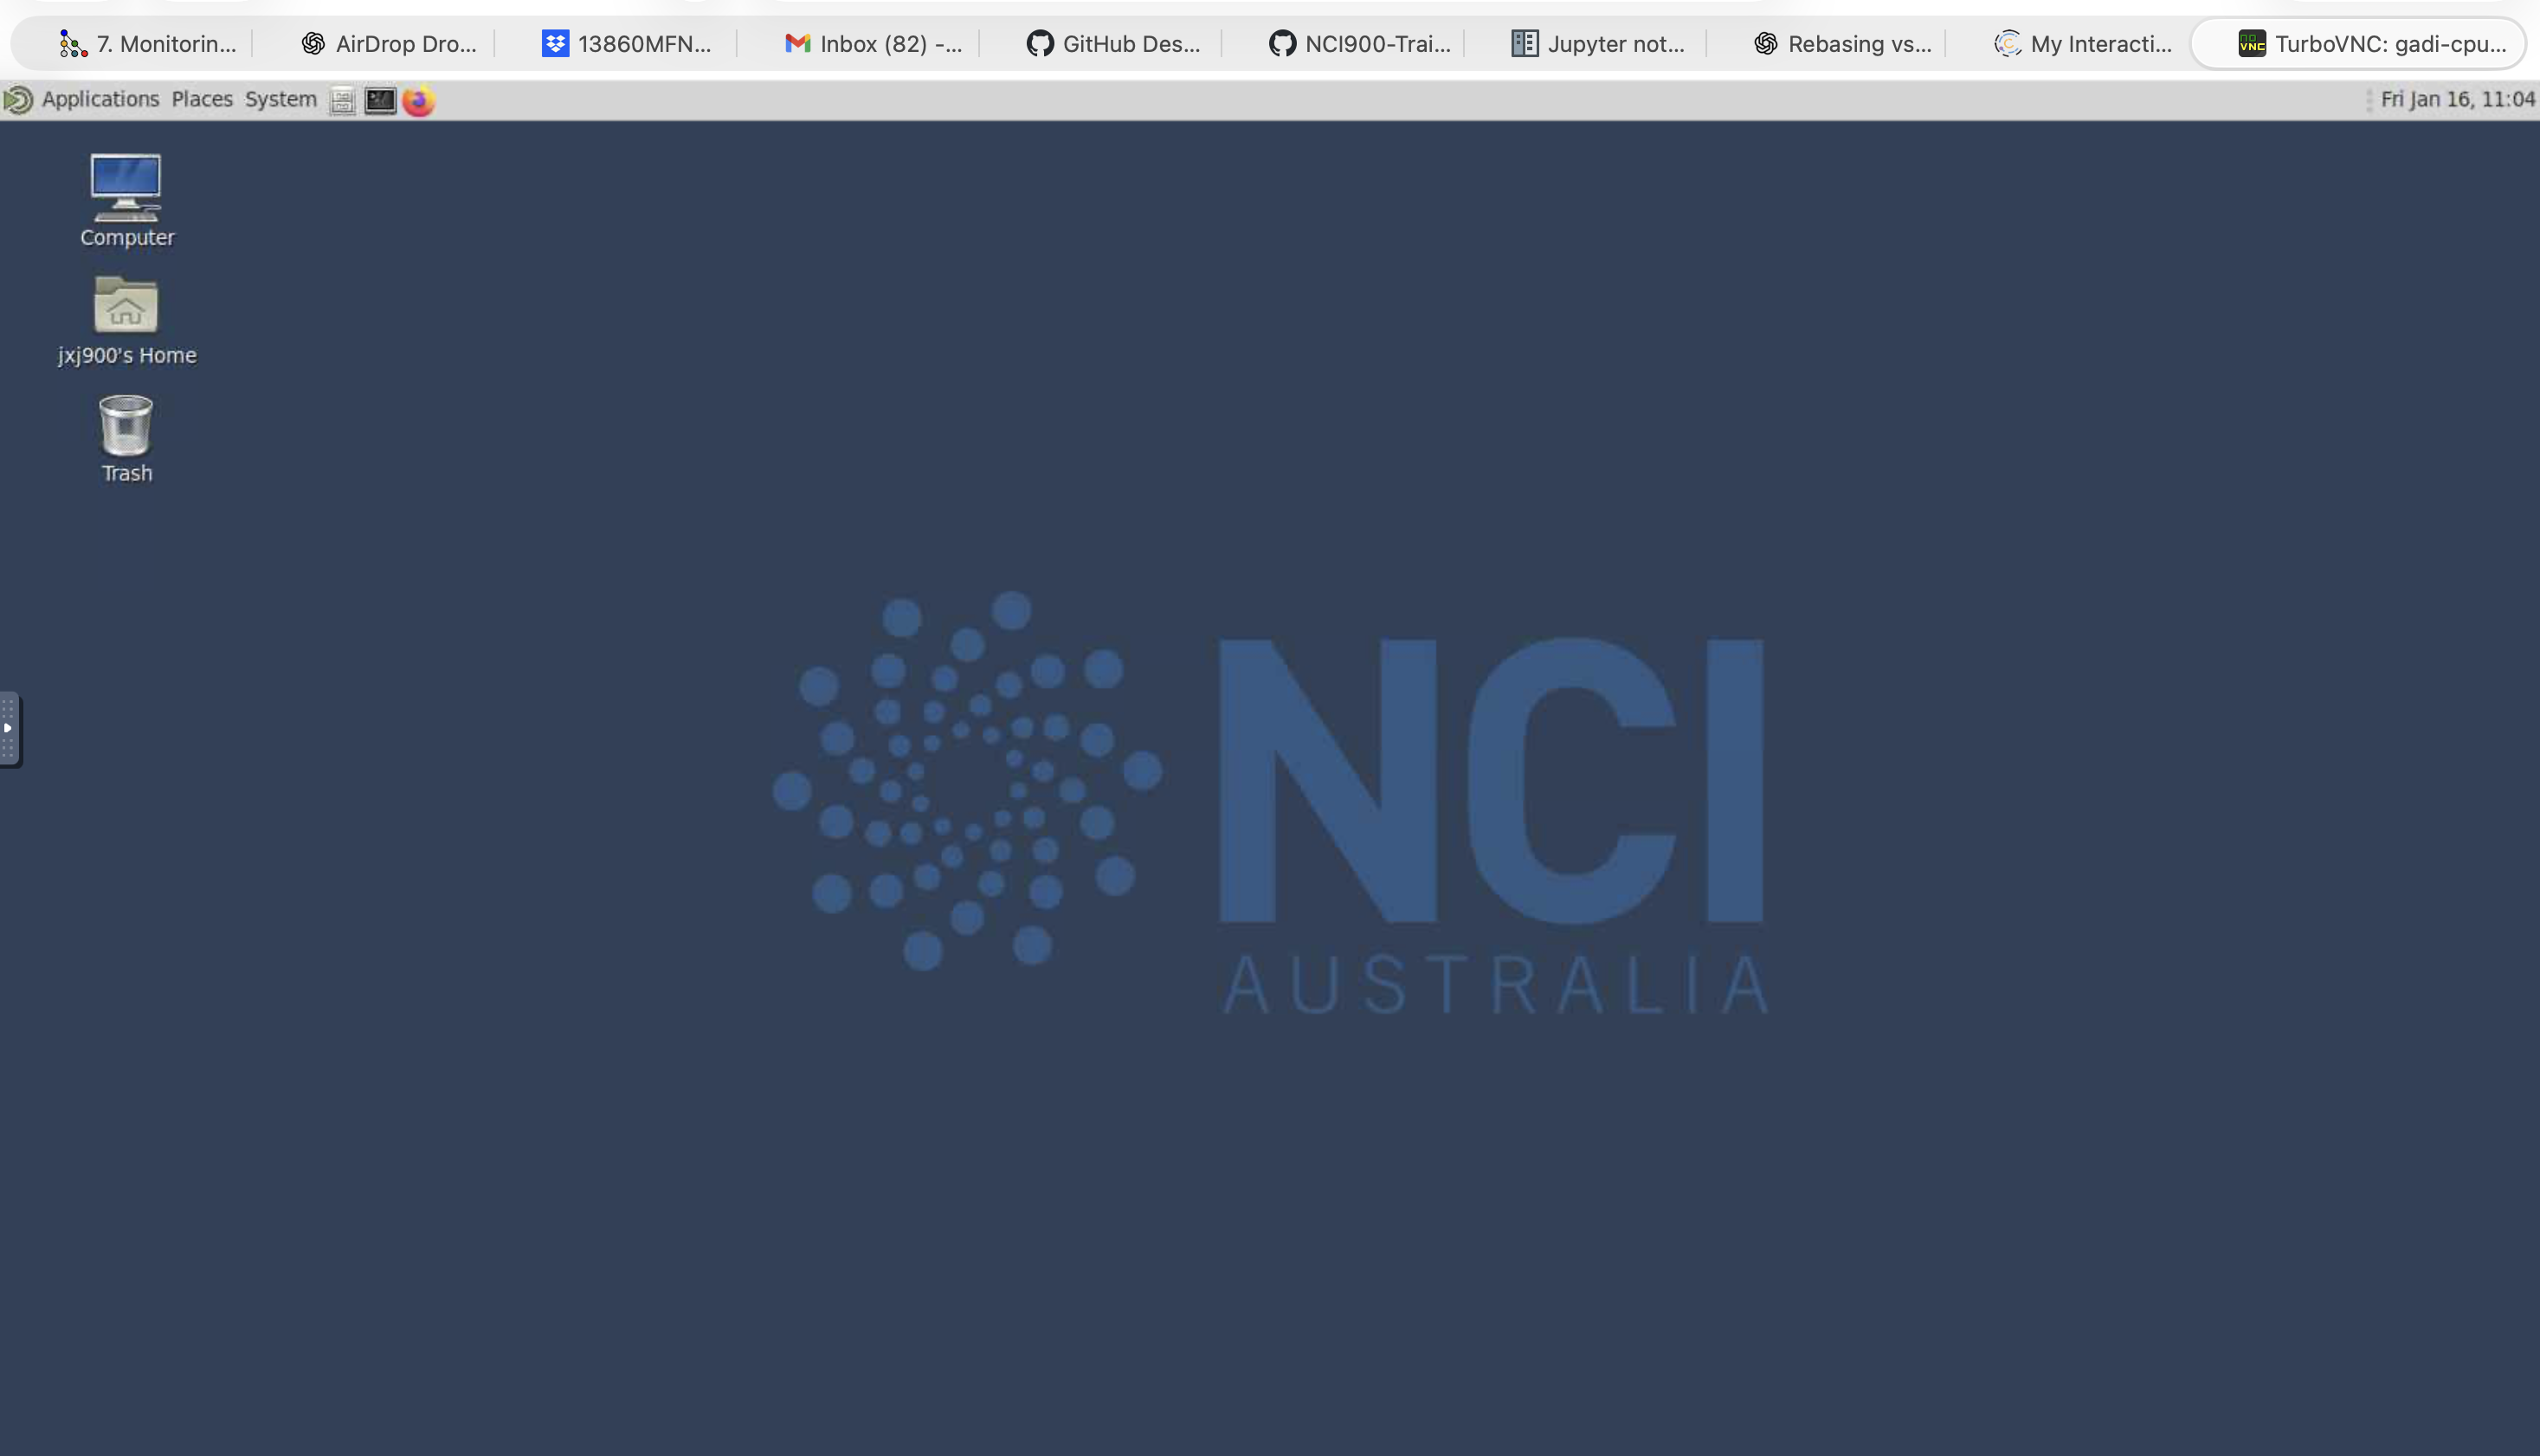
Finally, you will see the Virtual Desktop interface and you can access the terminal or anu other applications installed.
8.1. Requesting GPUs#
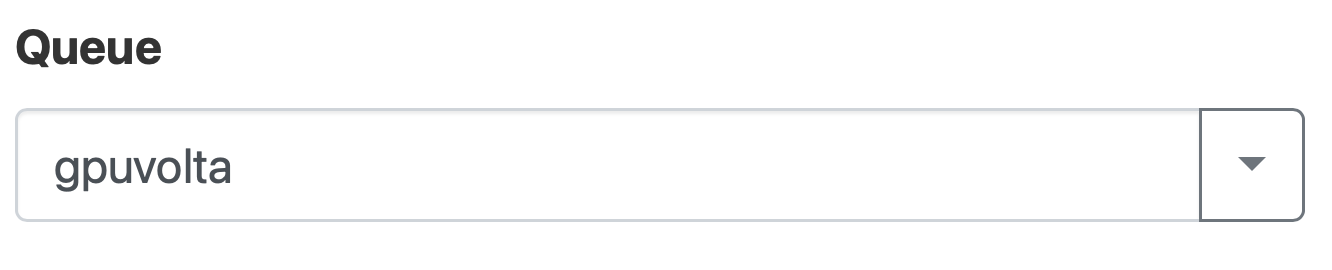
Use the queue gpuvolta for GPUs.
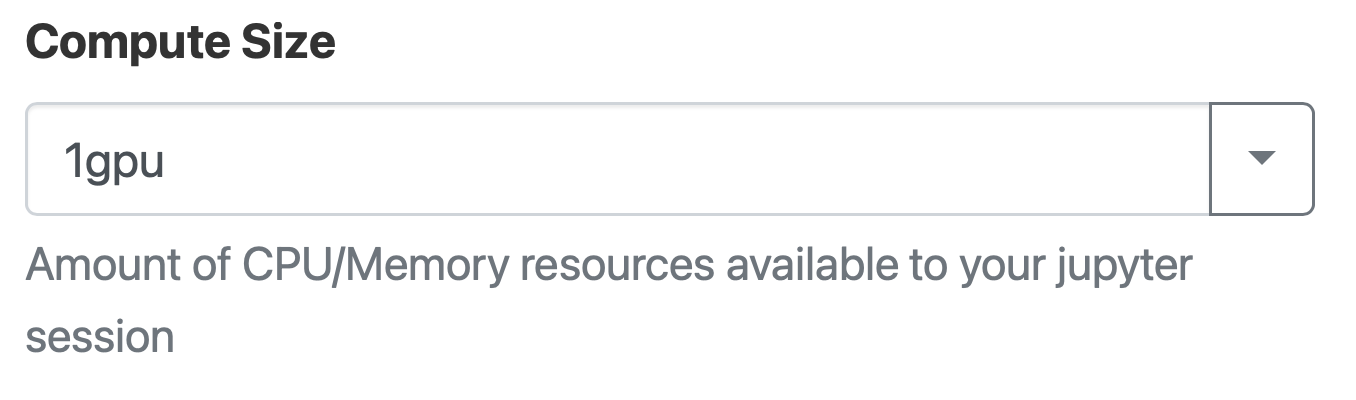
Select the number GPUs you need.
Key Points
ARE makes using GUI based application easy on Gadi usig Virtual Desktop.